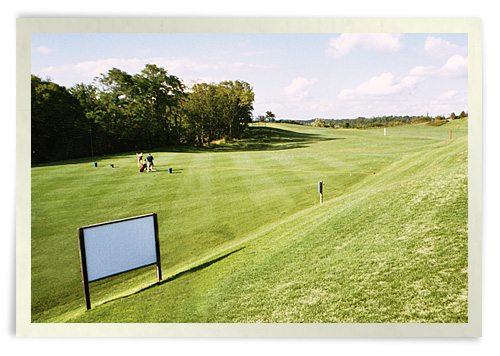
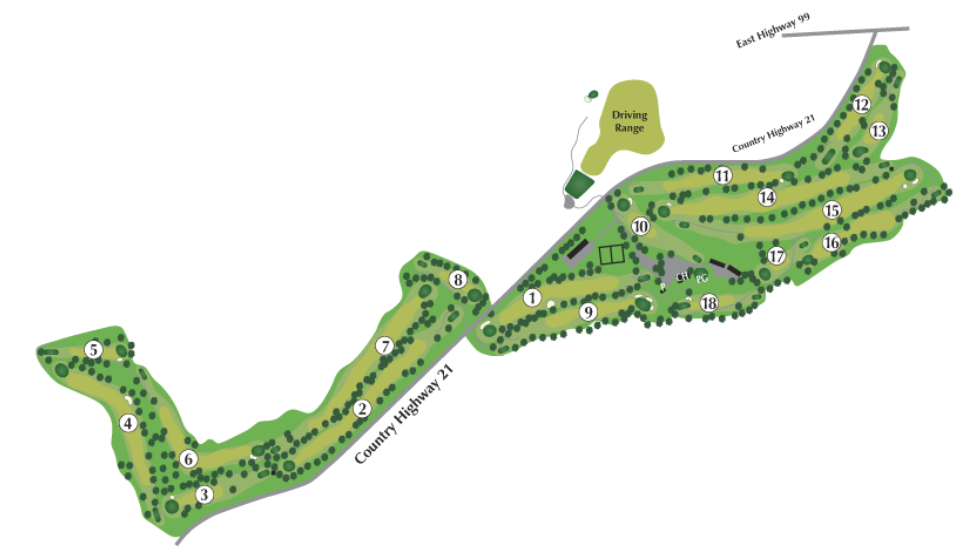
Shoreland Country Club is a par 69, 18-hole, semi-private golf course. The course has a slope rating of 123 from the Blue tees. It is considered a short course by many of today’s standards, but do not let the scorecard fool you: what Shoreland Country Club lacks in distance, it makes up in variety. With 7 par 3’s, 4 par 4s, rolling hils, views of the Minnesota River Valley and Lake Emily, the setting could not be better.
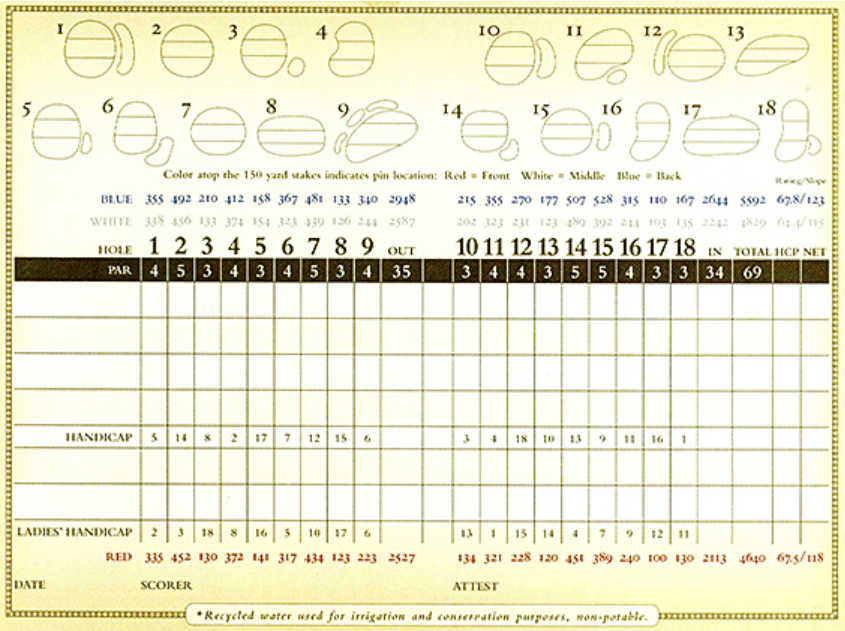
White Tees: 355 yards
Red Tees: 335 yards
Par: 4
This hole is a slight dogleg to the left with the approach shot to an elevated green. A good target to aim for is the line of pine trees behind the green, with a good miss to the left. This green slopes from right to left, so a shot left of the pin should give you an easier uphill putt.
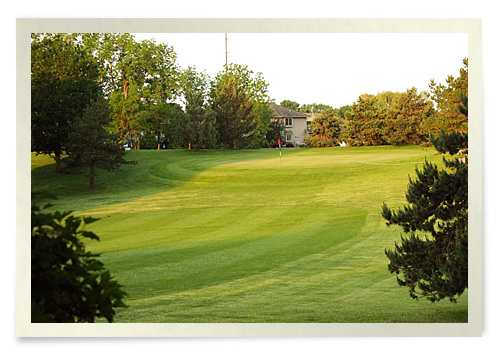
White Tees: 492 yards
Red Tees: 452 yards
Par: 5
This par 5 is straight away with an approach shot to an elevated green. A good target to aim for on this hole is the lone pine tree on the right side of the fairway. Anything right is good here because more than likely the slope of the fairway will make your ball bounce back toward the fairway.
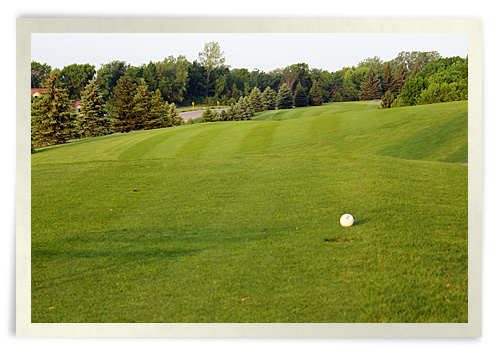

White Tees: 210 yards
Red Tees: 130 yards
Par: 3
Don’t let the big green deceive you. This is probably the hardest green to hit on the course, due to the swirling winds usually coming from the left side of the tee box. A good miss here is short of the green. The green slopes from back to front.
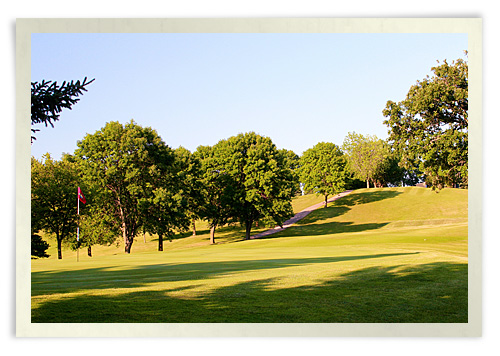

White Tees: 412 yards
Red Tees: 372 yards
Par: 4
Try to hit your drive up the left side of the fairway. If you are long enough off the tee to hit to the top of the hill, you will still be in the fairway on this line. Watch out for the blind bunker on the right side of the fairway!
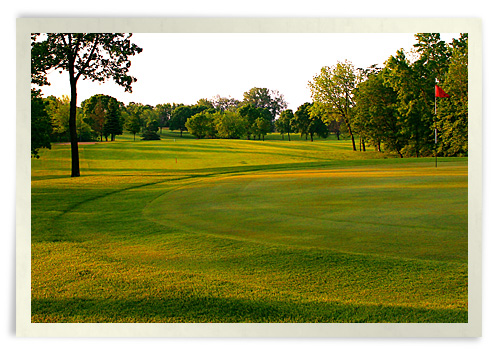
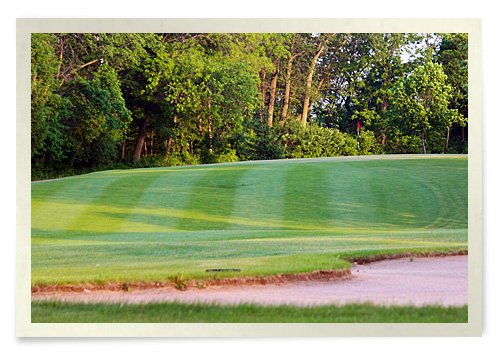

White Tees: 158 yards
Red Tees: 141 yards
Par: 3
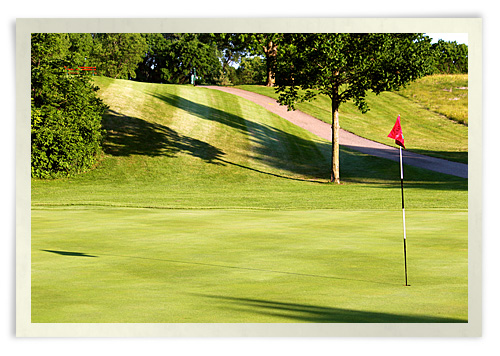
This par 3 is probably the prettiest hole on the golf course. Short is good on this hole, and long is dead! This green slopes from front to back, and the green breaks a little more than it appears to.

White Tees: 367 yards
Red Tees: 317 yards
Par: 4
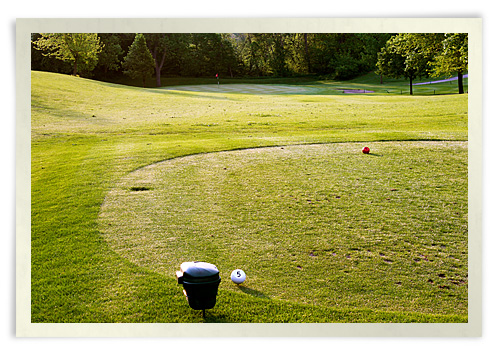
This is a big risk-reward hole giving you two options to play: straight ahead or cut the corner. If you elect straight ahead, you have 230 yards before you go through the fairway. Cutting the corner, you need to be able to hit a high ball 240 yards to clear the tree line; be careful not to cut it too much though! Your approach shot should allow for 5 to 10 more yards to carry it to the green.
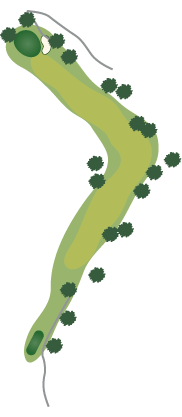
White Tees: 481 yards
Red Tees: 444 yards
Par: 5
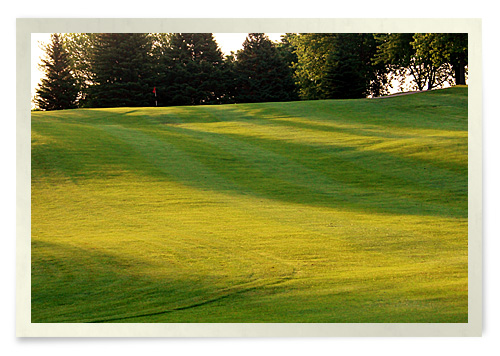
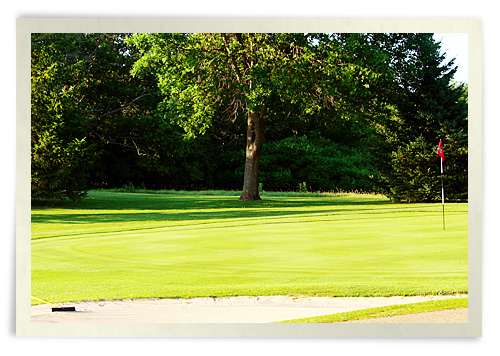
The pine trees on the right side of the fairway are the best target for your drive. There is more room than there appears to be on the left side, but the right side of the course is available for you. The approach shot is a blind shot; the best targets are the tops of two pine trees at the top of the hill. If you can keep the ball between these two trees, you are right on target for the green.
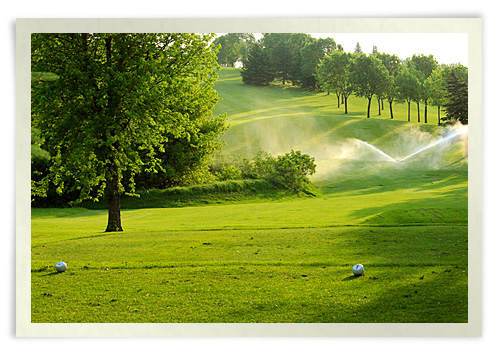

White Tees: 133 yards
Red Tees: 123 yards
Par: 3
This par 3 can deceive you once you are on the green. The green looks like it slopes from back to front, but when you start putting on the green you will see that the ball likes to go from front to back. This effect is caused by Lake Emily, and it’s why the locals always say the putt will break towards the lake. Be careful when the pin in is back on this hole; the putt can get extremely fast when it looks pretty flat.


White Tees: 340 yards
Red Tees: 305 yards
Par: 4
Hitting your drive down the left side will force your ball to return to the center of the fairway. Do not be deceived by how close to the green the trees appear; if you can hit your shot high enough to get over the trees, your ball should land on the green. This green is also influenced by Lake Emily, making the green slope left to right.
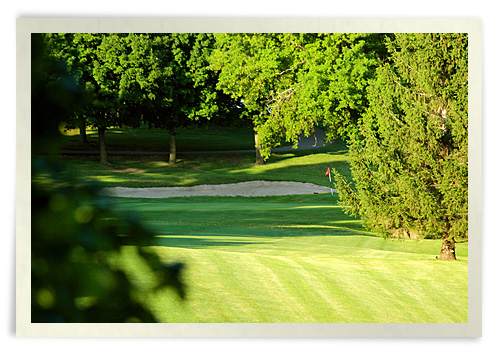
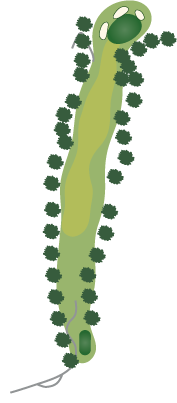
White Tees: 215 yards
Red Tees: 131 yards
Par: 3
This is a long par 3 to a relatively flat green. Right is a good miss here, but be aware that the driveway on the left is not out of bounds.

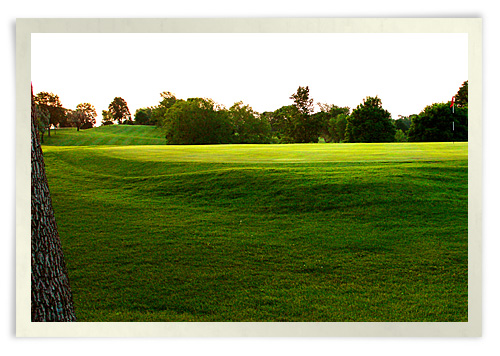

White Tees: 355 yards
Red Tees: 321 yards
Par: 4
This fairway slopes from left to right, so if you hit your tee shot down the left side, watch it roll back to the middle of the fairway. A good approach shot here is left of the pin; the green slopes severely from left to right.
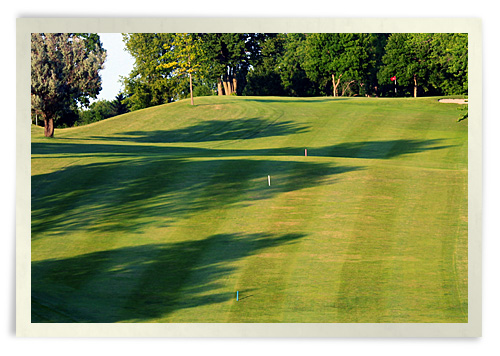
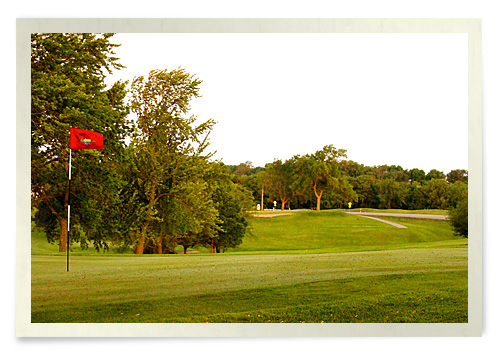

White Tees: 270 yards
Red Tees: 220 yards
Par: 4
Another great risk-reward hole. A layup shot calls for a 175-yard drive up the right side of the fairway. If you elect to go from the green, keeping the ball on the right center of the green is a good play.


White Tees: 177 yards
Red Tees: 120 yards
Par: 3
This par 3 plays one club longer than you think. A shot on the front left of the green will give you a very difficult putt to a back right hole location. The best miss is to the right of this green. If you want to take your chances, I have seen many golf balls hit off the back hill right onto the green.
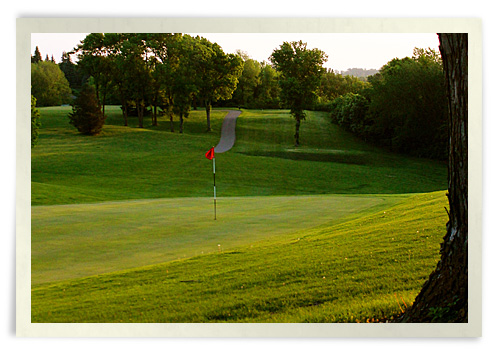

White Tees: 507 yards
Red Tees: 489 yards
Par: 5
Your target on this hole is the maintenance shed in the background. You want to be on the right side of the right-to-left sloping fairway. Other than the front right of the green, the putting surface is pretty level. Watch out for the pins on the right of this green; they can get quick.
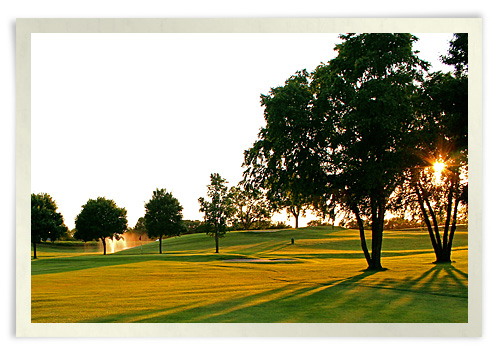

White Tees: 528 yards
Red Tees: 389 yards
Par: 5
The fairway landing area slopes from left to right, so anything left gives you some roll and puts you on the right side of the hole. Your second shot, with your ball below your feet, will give your ball a left-to-right flight; make sure you are left more than you are right. The right rough slopes severely, making your approach shot that much harder. This green slopes severely from left to right.
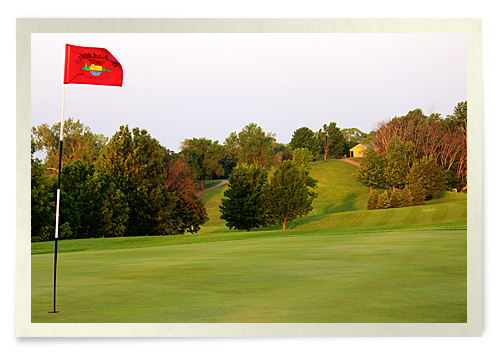

White Tees: 315 yards
Red Tees: 240 yards
Par: 4
The lone maple is your tee-off target on this hole. This will put you in the middle of this sloping right-to-left fairway. It is important to keep your approach shot below the hole, as the green slopes from back to front.
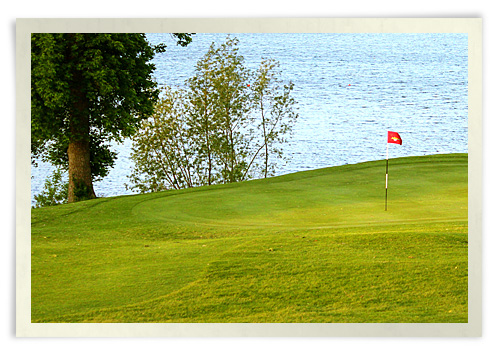

White Tees: 110 yards
Red Tees: 100 yards
Par: 3
With its highly elevated green, this 110-yard hole turns into a 120-yard hole. Short on this hole makes for a difficult chip shot. Make sure you take enough club to get to the green, and the shot will hold.
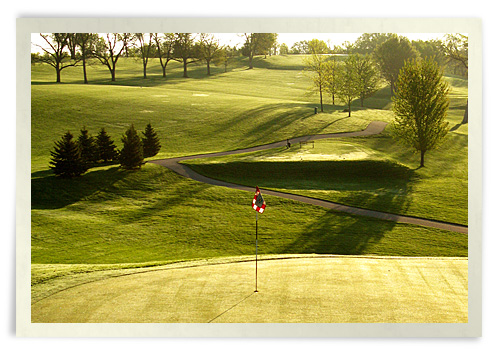
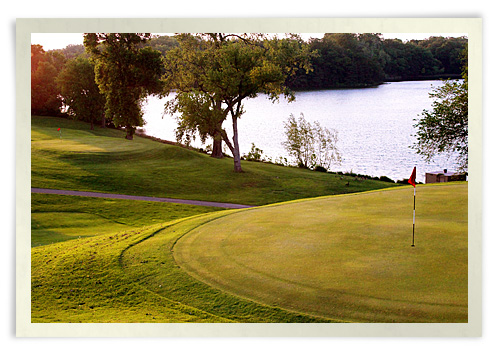

White Tees: 167 yards
Red Tees: 130 yards
Par: 3
This green slopes from right to left, and its long, slender design makes it extremely tough to stay on the green. The best miss on this hole is to the left, giving you an uphill chip shot onto the green. Keep in mind on the tee box to grab an extra club.
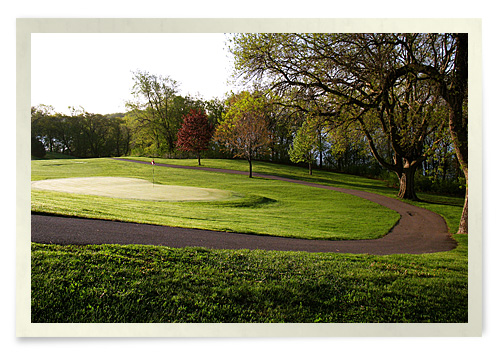

The driving range at Shoreland Country Club is full size and allows you to practice any club in your bag.
